RADON MITIGATION PORTLAND
  • Home
  • Services
    • Radon Mitigation
    • Radon Testing
  • Contact Us
  • About
  • Blog
  • What is radon?
  • Radon Symptoms

BLOGS

DIY Radon Fan Replacement: A Step-By-Step Guide For Safety

8/16/2023

 
Picture
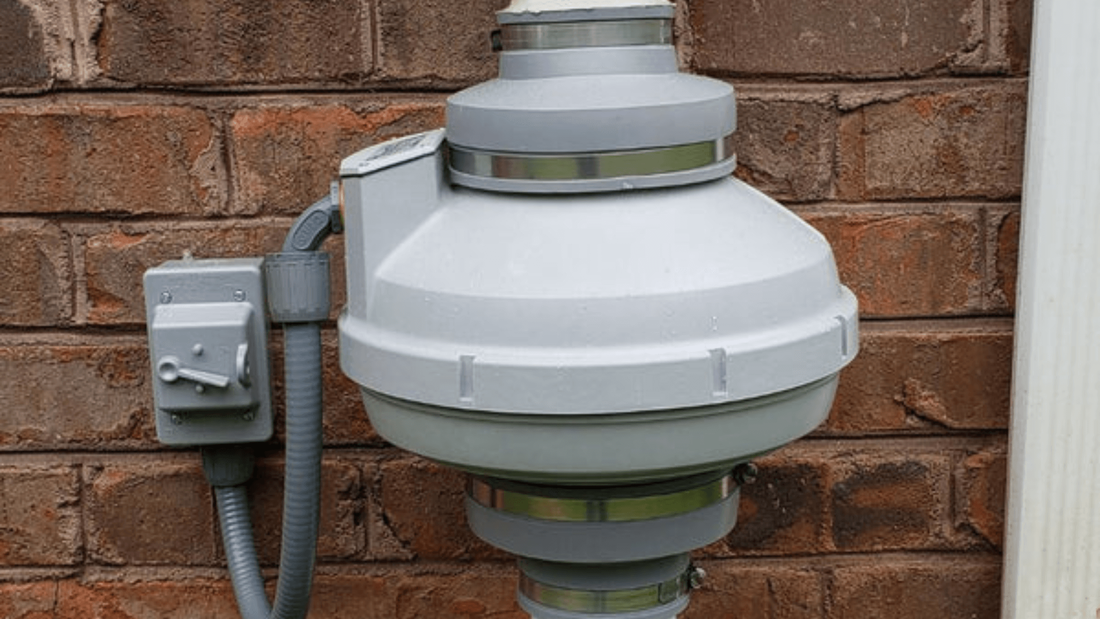
resource:festaradontech.com
Radon gas is a severe health risk that may be found in houses across the country. Addressing radon levels in your home is essential to protect yourself and your family from this silent threat. One effective method of mitigating radon is using a radon fan.

But can I replace a radon fan myself?
​

This guide will explore the DIY radon fan replacement process, providing the necessary steps and precautions to ensure your safety.

Understanding Radon Fan

Before we dive into the radon mitigation fan replacement process, let's take a moment to understand what a radon fan is and how it works. A radon fan is a crucial component of a radon mitigation system. It helps draw radon gas from below your home and safely vent it outside, reducing indoor radon concentration.
​

Radon fans come in different types and sizes, including exterior-mounted fans and inline fans installed in the attic or crawlspace. Some fans operate continuously, while pressure sensors activate others. Understanding the type of fan you have will be important for replacement.

Signs that Your Radon Fan Needs Replacement

Picture
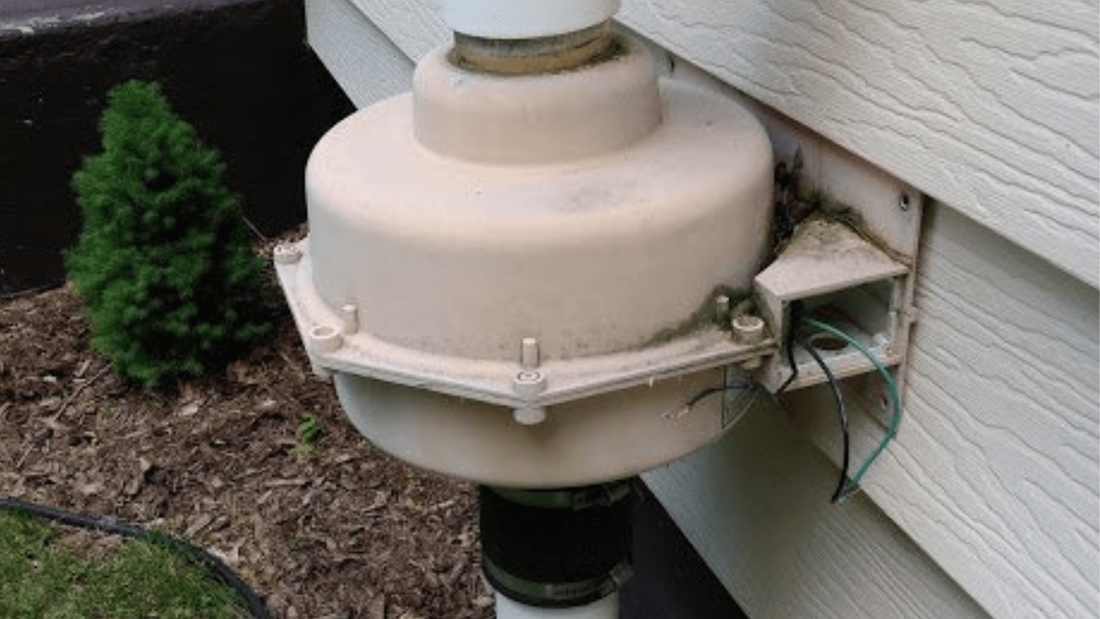
resource:syracuseradonmitigation.com
Over time, radon fans can experience wear and tear, reducing their efficiency. Here are some signs that indicate it may be time to replace your radon fan:
​
  • Decreased airflow: If you notice a reduced airflow from the fan, it could be a sign of a damaged fan blade or other mechanical issues.
  • Inconsistent radon levels: If your radon levels fluctuate or are consistently high, it could indicate a problem with the fan's performance.
  • Strange noises: Unusual sounds, such as grinding or rattling, may indicate that the fan motor is compromised and needs replacement.
  • Excessive vibration: Excessive vibration can signify worn-out bearings or imbalanced motor blades requiring replacement.

Preparations for Fan Replacement

Before starting the replacement process, making the necessary preparations is important. 

Here are the steps you should follow:
​
  • Gather the necessary tools and equipment: You need a screwdriver, wire stripper, electrical tape, and a replacement radon fan of the appropriate type.​
  • Turn off the electrical supply: Locate the circuit breaker connected to the radon fan and switch it off to ensure your safety during the replacement process.
  • Ensure proper ventilation: Open windows or doors to provide adequate ventilation in the area where the replacement will take place.

Step-by-Step Radon Fan Replacement Process

Picture
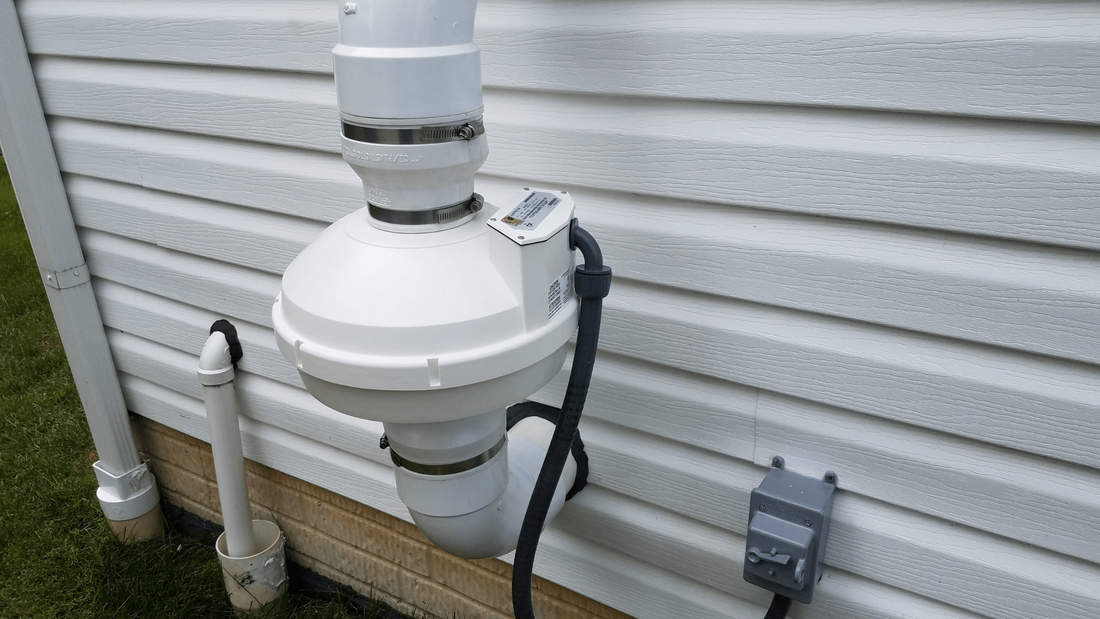
resource:storables.com
Removing the Old Fan
​
  1. Disconnect the power: Double-check that the power to the radon fan is off before proceeding. This may require turning off multiple circuit breakers.
  2. Remove electrical connections: Carefully disconnect the electrical wires from the old fan, following the manufacturer's instructions if available. Take note of the wire colors and their corresponding connections for reinstallation.
  3. Dismount the old fan: Unscrew the mounting brackets or clamps that secure the fan to the piping system. Gently remove the old fan from its position.

Installing the New Fan
​
  1. Select the proper location: Place the new fan in the same spot as the old one, ensuring the piping system is properly aligned.
  2. Mount the new fan: Firmly fasten the new fan using the mounting clamps or brackets that are included. To avoid vibrations or movement, ensure it is firmly in place.
  3. Connect the wires: Reconnect the wires to their proper terminals on the new fan. To make the connections secure, use electrical tape and wire connectors.
  4. Verify appropriate installation: Before concluding the installation, double-check all connections and make sure the fan is firmly placed.

Tips for Safety

While changing a radon fan might be a do-it-yourself effort, safety should always come first. Observe the following advice:
​
  • Wear gloves and a mask for protection: Radon fans may collect dust and other particles, so shielding your skin from any possible allergens is crucial.
  • Observe manufacturer's instructions: Always adhere to the detailed instructions supplied by the fan manufacturer for correct installation.
  • Properly dispose of the old fan: Contact local authorities or recycling centers to ensure you dispose of the old fan under local requirements.
  • Test radon levels after replacement: Once the repair is complete, perform a radon test to determine that the new fan efficiently decreases radon levels in your house.

Common Mistakes to Avoid

Even if replacing radon fans on your own might save money, there are certain pitfalls to watch out for:
​
  • Using an inappropriate type of fan: To prevent issues, ensure your new fan is compatible with your current radon mitigation equipment.
  • Incorrect fan installation: Carefully follow the manufacturer's instructions to guarantee appropriate installation and prevent compromising the fan's performance.
  • Not checking radon levels after replacement: It's critical to check radon levels after installation to ensure the functioning of the new fan.

Conclusion

While replacing a radon fan yourself might save money and be enjoyable, it's important to emphasize safety and adhere to the given guidelines. Your radon mitigation system will continue to work effectively with routine maintenance and replacement of your radon fan, keeping you and your loved ones safe from the hazards of radon gas.

FAQs

Can I install a radon fan myself?

Professionals typically install a radon mitigation system for approximately $1,500, but you can do it yourself for only about $500 in supplies. Therefore, you can install your system in a weekend and save yourself $1,000 if you're reasonably handy and have some knowledge of carpentry, plumbing, and electrical systems.

How long does it take to install a radon fan?

Radon removal can be finished in a single day. An installation of a mitigation system typically takes three to five hours.

How effective are radon fans?

Systems to reduce radon are effective. Using radon-reducing features will often keep radon levels in dwellings below two pCi/l. A good radon mitigation system can reduce the amount of radon in your house by up to 99 percent.

Is a radon fan loud?

Every radon fan has a working motor and makes only a little noise. Replace your radon fan if the noise has gotten louder or started to sound crunching.

Can a fan help reduce radon?

In some circumstances, crawlspaces can be passively or actively ventilated using a fan to reduce radon levels. By lessening the home's suction on the ground and reducing the radon concentration underground, crawl space ventilation can lower indoor radon levels.

What is the best location for a radon fan?

The only locations suitable for fan placement are garages, attics, and the home's exterior. Crawl areas and basements are prohibited since they are part of the home's conditioned air space.

Comments are closed.

    Author

    Radon Testing & Mitigation PNW is a radon expert. Giving information about radon and safety installation.

    Archives

    August 2023
    April 2023

    Categories

    All
    Radon Mitigation

SERVING ALL OF PORTLAND METRO & SURROUNDING AREAS

QUICK LINKS

HOMEPAGE
RADON MITIGATION
RADON TESTING
ABOUT US
CONTACT US
BLOGS
SOCIAL MEDIA

BUSINESS INFORMATION

Picture
PHONE NUMBER
503-902-4212
BUSINESS HOURS
​Mon - Fri: 8am to 7pm
Sat: 8am to 5pm
Sun: 10am to 5pm
Licensed, Insured, & Certified
​CCB#229523
TOS
DISCLAIMER
PRIVACY POLICY
  • Home
  • Services
    • Radon Mitigation
    • Radon Testing
  • Contact Us
  • About
  • Blog
  • What is radon?
  • Radon Symptoms